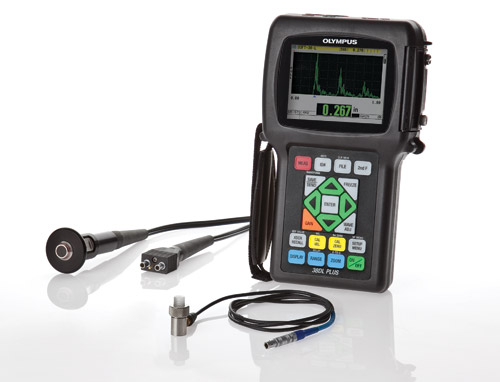
A vital check is to measure the thickness of the product to ensure that they are fit for purpose. Using ultrasonics the sensors canbe placed at the critical measuring points.
The system is a digitized measurement table. Comprising a machine base made from aluminium and finished in an anodized black coating. Internal diameter, outside diameter, spout diameter and lid fit diameters are measured using easy to interchange components.
Overall gauge dimensions:. 610 mm x 510 mm
Certified Calibration gauge block
.

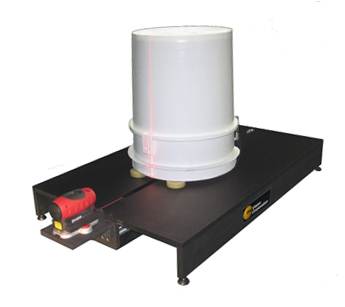
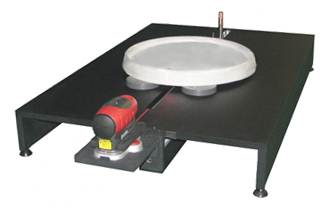
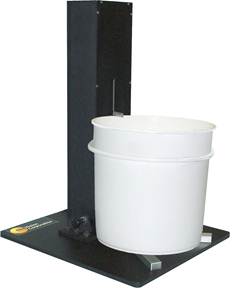
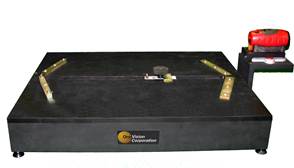
OneVision was approached to modify our highly successful body blank gauge. The measuring table will measure the critical parameters and send them via a Multiplexer to the SeamMate software to enable full reporting and database functions. The system means that the moulded products can be checked as they come off the line and defects detected before the error becomes costly.
• Proprietary precision gauge for plastic moulded component makers
• Simple tub or bucket placement on base by the operator
•
• Simple, repeatable gauge zero
• Internal drift-free digital encoder
• Directly interfaces to the SeamMate® System
Simply place the tub, bucket or lid on the table. Move the slides to contact with the edge and confirm the measurement. the data is checked against the spec and ready to report.